Performing a DIY pad change is one of the simplest and most rewarding car maintenance tasks you can undertake. Moreover, this task does not require a car ramp and can easily be performed in the comfort of your own driveway using just a basic set of tools (unless your vehicle has an electronic parking brake, in which case, good luck with that one mate). In this blog, we’ll guide you step-by-step through the process of installing your new brake pads safely.
Considering the hourly rates charged by mechanics today, opting for a DIY brake pad change can also save you a few hundred dollars. Besides, you’ll often do a ‘better’ job of installing your new brake pads yourself than the average mechanic anyway, since it’s your pride and joy and you haven’t got an angry boss giving you the hurry up, forcing you to rush the job. So, take your time, follow this guide at your own pace, and feel the sense of self-satisfaction that comes from showing your 4-wheeled beauty some TLC.
STEP 1 – Preparation
Before getting underway, a top tip is to make sure you have all the necessary parts and tools to finish the job; much easier to dash down to the local auto parts store now than get stuck halfway through the job whilst your car is in pieces! Essential tools you will need include a jack, axle stands, breaker bar or impact wrench, torque wrench, ratchets, a wire brush, and a socket set. Moreover, make sure you have any special or uncommon tools your specific vehicle may require, such as a 7mm hex socket or an uncommon-size Torx socket that might not be included in standard socket sets. We recommend lifting the car, removing a wheel, and inspecting the brakes so you can be confident you have every tool you need for the job.
If you’re replacing the rear brake pads, you’ll typically also need a caliper wind-back tool to retract the piston. Alternatively, for vehicles equipped with an electronic handbrake, the process often requires plugging diagnostic equipment into the OBD port to engage service mode, telling the car to electronically retract the caliper pistons. Unfortunately, this often necessitates a trip to your local garage or main dealer since it requires specialised diagnostic equipment.
Naturally, you’ll also need the new parts to be installed. If you need help choosing new brake pads, refer to our handy guide on How to Choose New Brake Pads. Additionally, if your vehicle is equipped with brake wear sensors, you’ll need to obtain replacements for those. Make sure to have some high-temperature caliper grease to hand as well, this is essential if your car has sliding-type brake calipers to ensure everything operates smoothly.
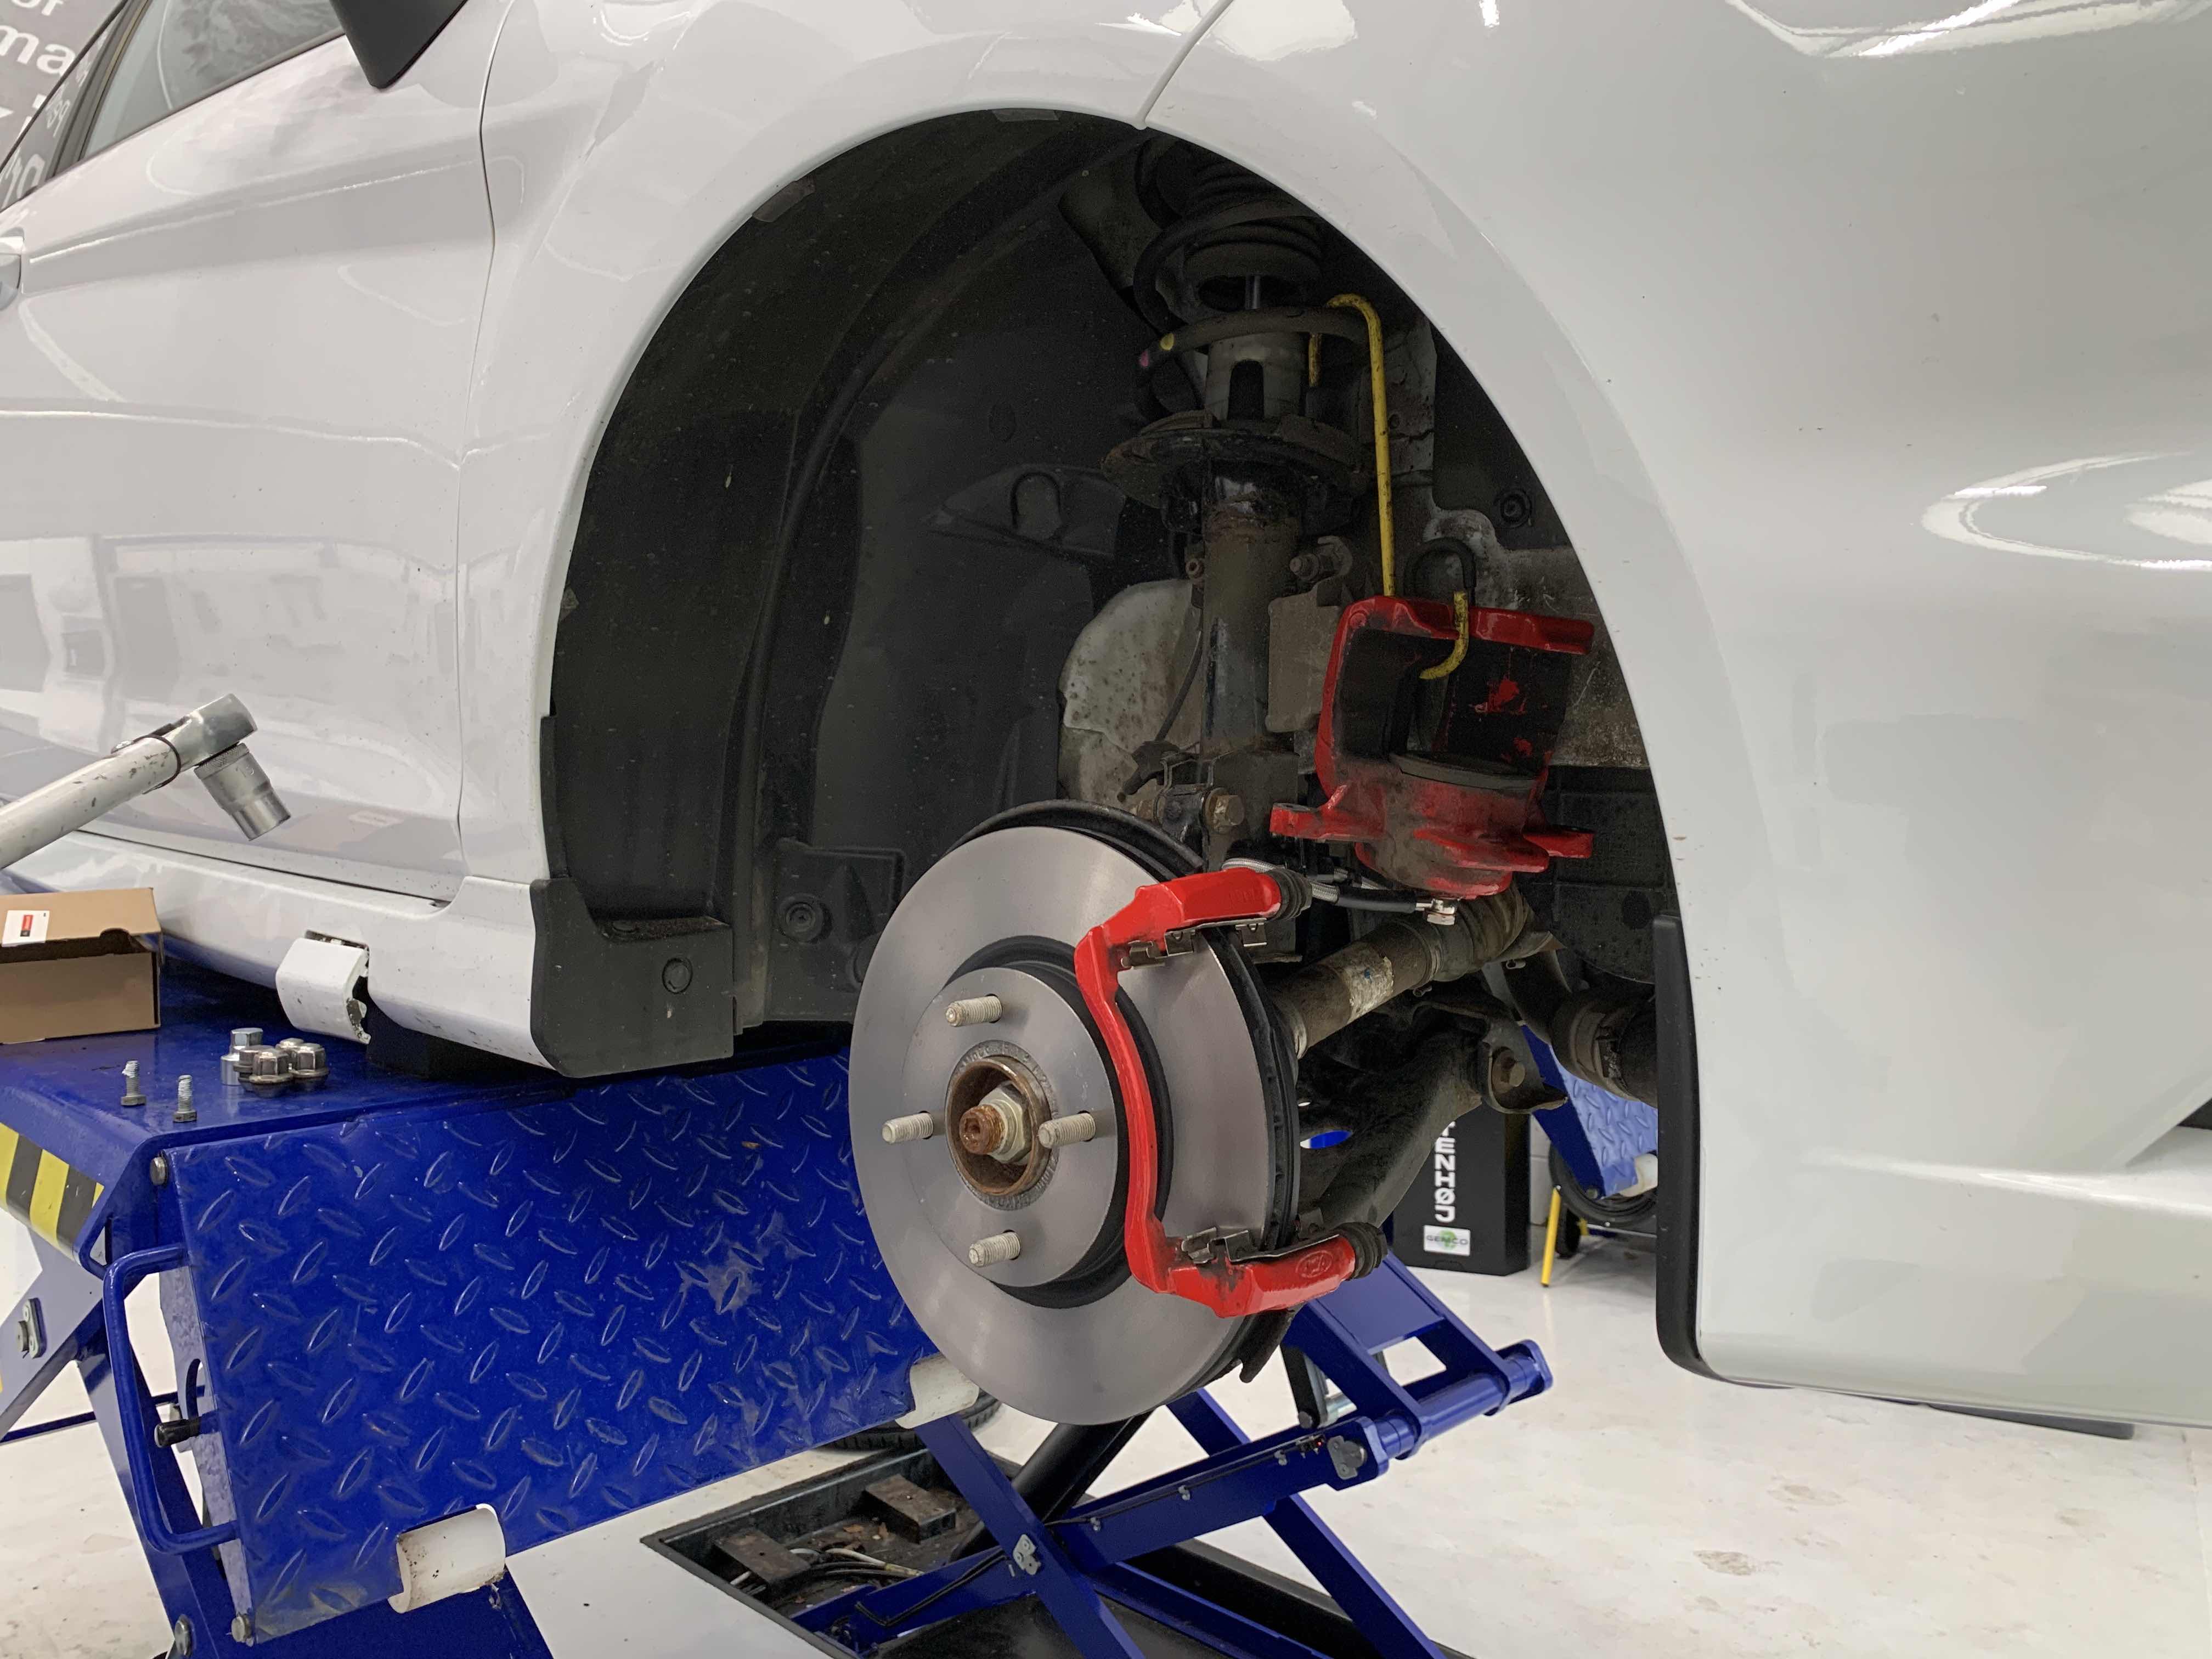
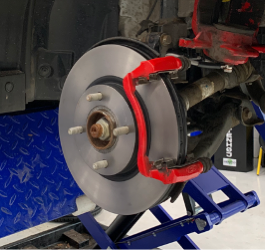
STEP 2 – Wheel Removal
Begin by cracking off the lug nuts whilst the wheel is still on the ground. If you're replacing the front pads, ensure the handbrake is engaged to keep the vehicle stable. Next, jack the car up and place axle stands beneath the jacking points to ensure the vehicle remains firmly and safely supported. Now the car is securely lifted, remove the lug nuts and take off the wheel.
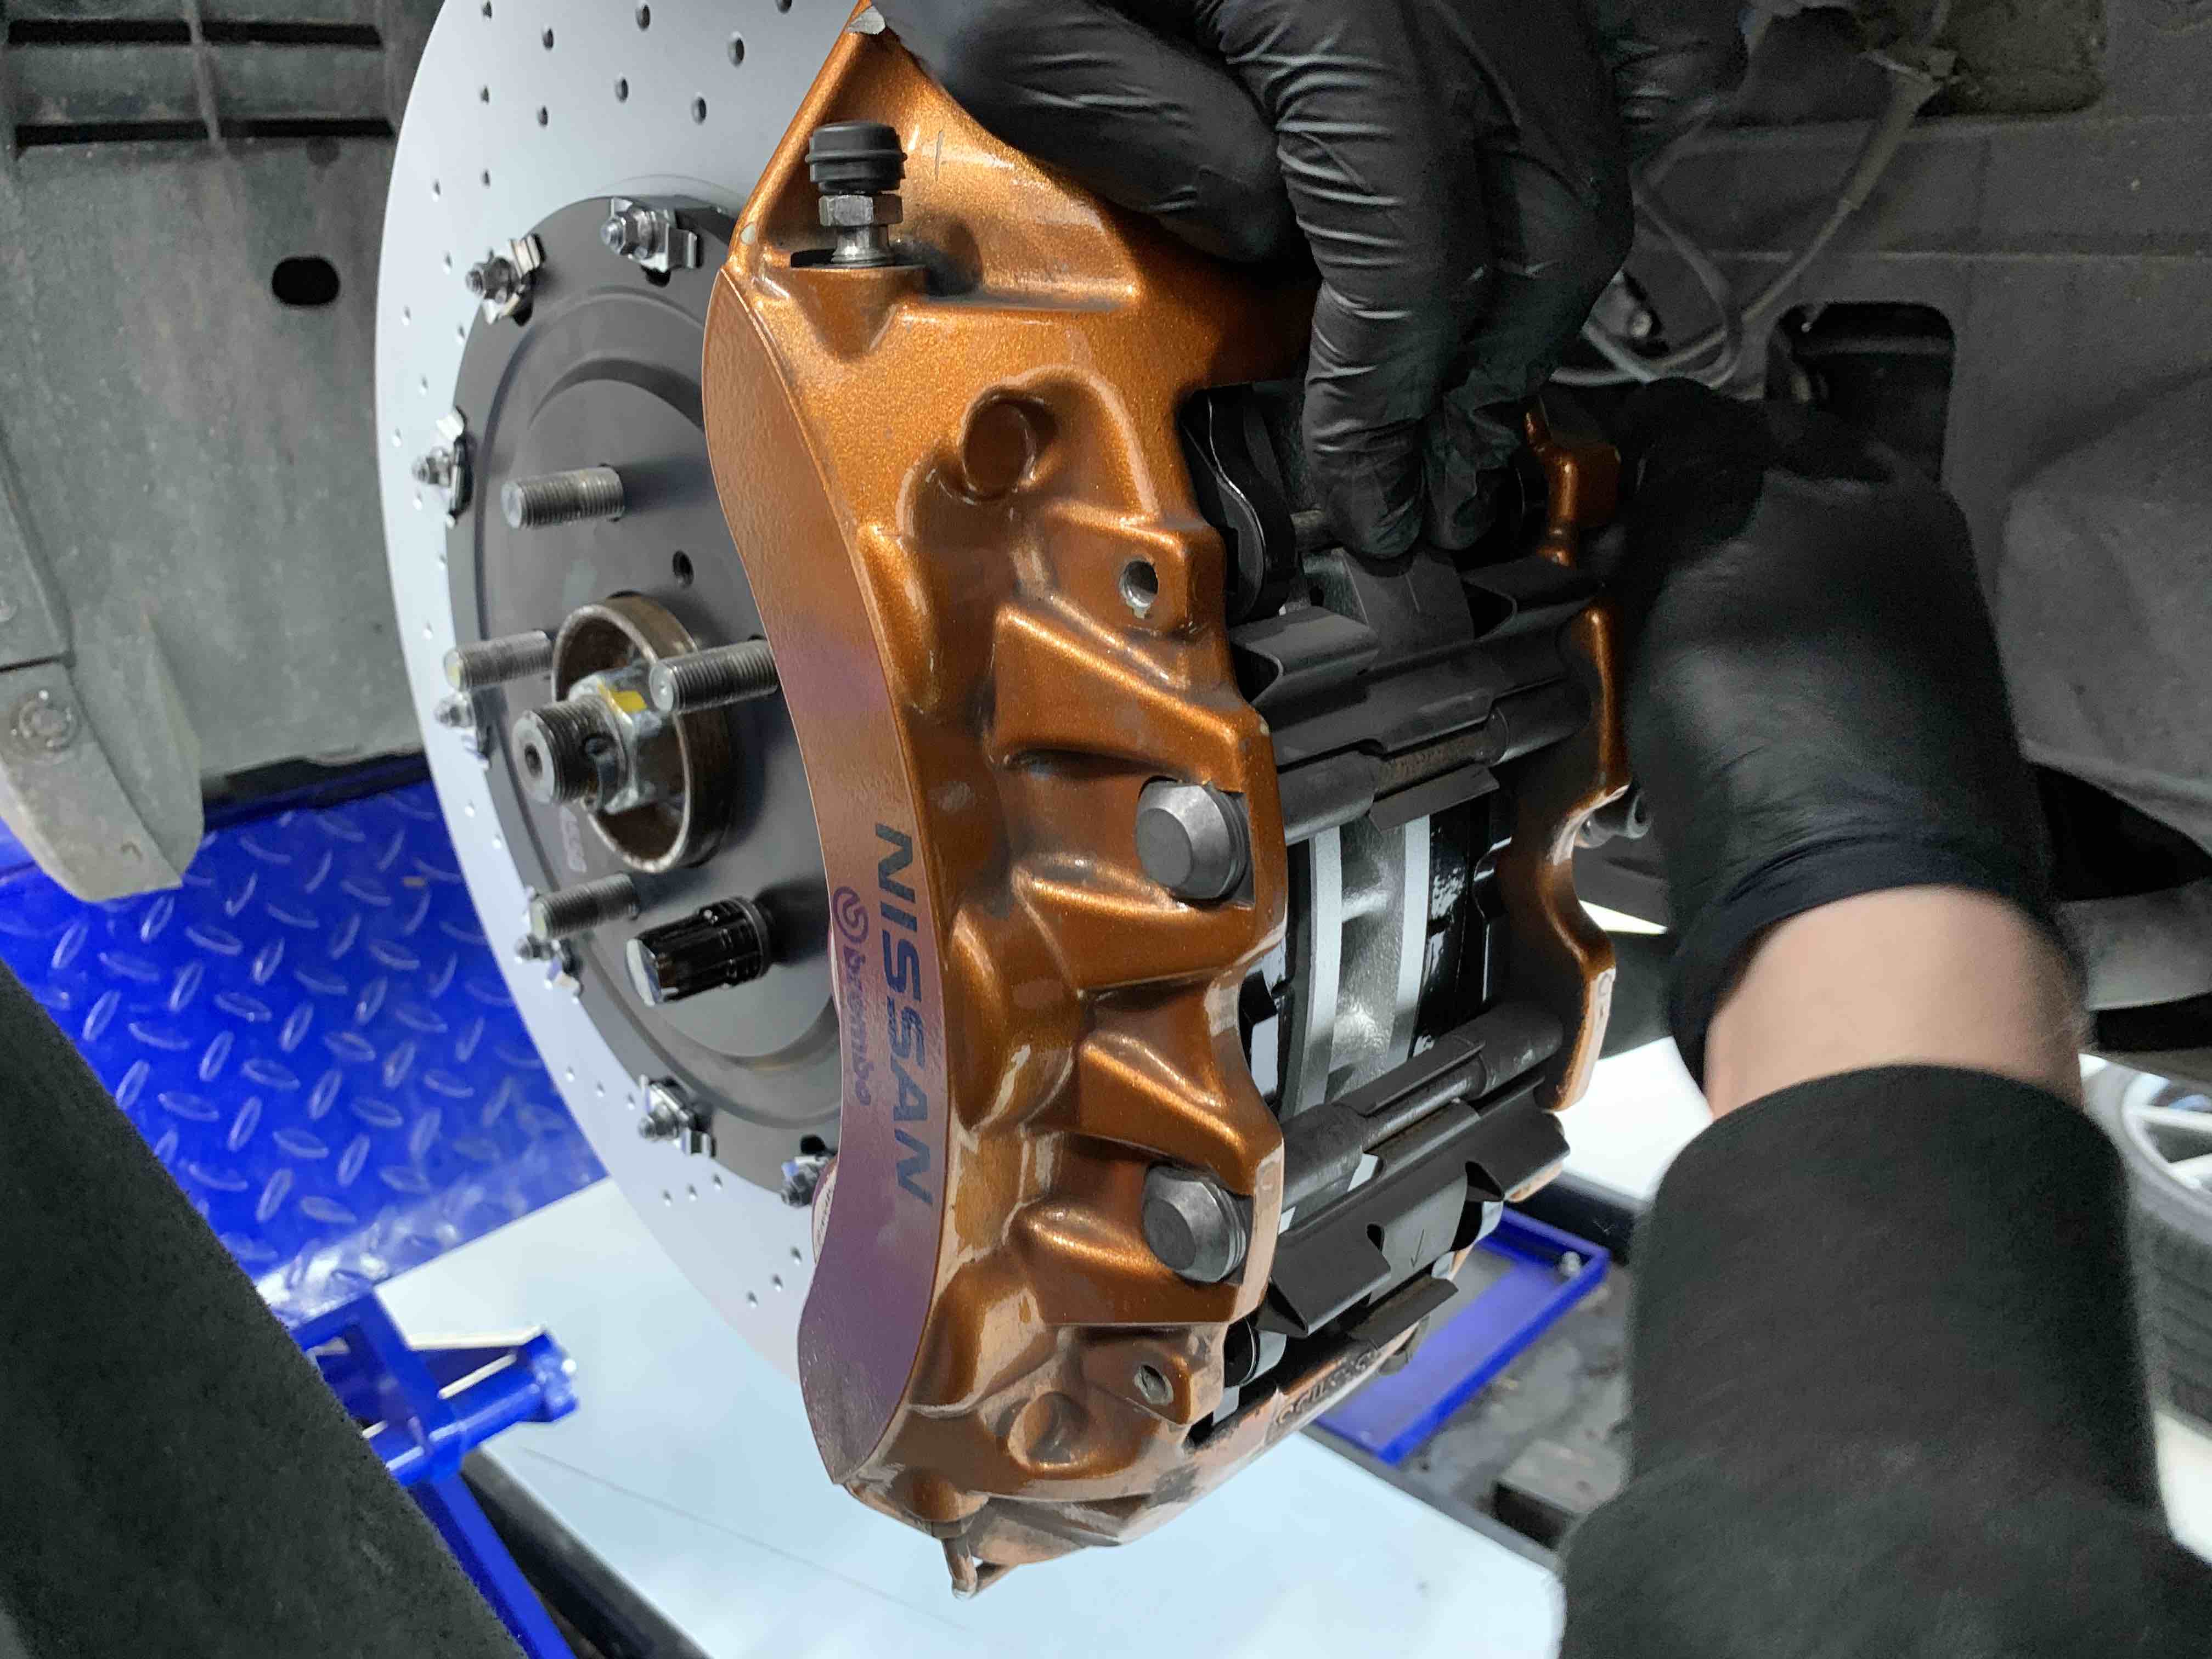
STEP 3 – Caliper and Brake Pads Removal
For cars equipped with a sliding-type brake caliper, typically it isn’t necessary to remove the bracket (also known as the pad carrier). Instead, you can simply remove the hydraulic brake caliper assembly by removing the two caliper sliding pins. Gently wiggle the caliper side-to-side, releasing it from the brake disc. Once removed, secure the brake caliper using a clothes hanger or zip ties to keep it from dangling and potentially damaging the brake line. Proceed to remove the brake pads, being mindful to note the orientation and positioning of any spring clips or additional hardware; taking a photo you can refer to later is sometimes worthwhile.
For cars equipped with multi-piston ‘fixed’ calipers, there are typically two general design types that require differing approaches to performing the pad change. Some calipers are engineered for quick pad changes, meaning the pads can be replaced by simply removing a top bolt or knocking out some retaining pins. On the other hand, certain caliper designs (cough, cough… Porsche… ahem) are not as maintenance-friendly and require the entire caliper assembly to be removed, with the pads being changed from the underside of the brake caliper.
STEP 4 – Prep for Installation of New Brake Pads
With the brake caliper and old pads removed, take this opportunity to inspect the brake caliper for any signs of wear or damage, such as a perished dust boot or excessive corrosion. If the dust boots are cracked or perished – a common feature for vehicles frequently driven on trackdays – a seal repair kit will be required, or the calipers may need professional refurbishment. Keep in mind that after installing new brake pads, you might not need to service the brake system for several years, or 10,000 kilometres. Therefore, it's vital to check the brake components are in top condition and will safely make it through to the next scheduled brake maintenance.
Fully retract the caliper pistons to accommodate the new, thicker brake pads; for multi-piston calipers this is far easier with a specialised caliper spreader tool. Use brake cleaner and a cloth to meticulously clean the brake caliper and remove any debris buildup; a wire brush may be gently used to remove stubborn build-ups of paint or rust. Finally, if your vehicle is equipped with sliding-type brake calipers, it’s critical to apply some high-temperature grease to the sliding pins, ensuring that the caliper slides freely and preventing brake drag which will later manifest as brake vibrations.
Examine the brake rotor closely, checking its condition and measuring its thickness. If the rotor annulus is heavily ribbed, shows signs of cracks, or if there is a pronounced lip at the edge, the brake rotor should be replaced. Furthermore, if the brake rotor is excessively rusted, airflow through the cooling vanes will be restricted which could lead to high operating temperatures. Ensuring the rotors are in good condition is essential for a safe and properly functional brake system; installing new brake pads onto heavily worn rotors will reduce braking performance, dramatically extend the bedding-in phase, and may even lead to brake noise.
STEP 5 – Install new Brake Pads
Before fitting new pads, a somewhat controversial topic is whether to apply anti-squeal grease to the pad’s backplate or not. We recommend against the application of any grease to the brake pads themselves. Whilst it might seem like a harmless additional measure to prevent brake noise, it can often do more harm than good. Countless times we have experienced problems related to brake grease that has migrated onto other components of the brake system; if any grease comes into contact with the surface of the brake rotor, it will invariably create brake judder and the only cure is to replace the contaminated pads. Furthermore, high-quality brake pads intended for street use, such as those manufactured by EBC Brakes, are specially formulated to minimise brake noise, negating the need for any anti-squeal grease.
Now install the new brake pads – without any anti-squeal grease - taking care to ensure any spring clips are correctly re-installed and the pads are sliding freely.
STEP 6 – Re-install the Brake Caliper
Re-install the brake caliper, taking care to ensure the bolts are torqued up to the specification as stated in the vehicle owner’s handbook. If the caliper is of a sliding-type design, make sure it is sliding freely; you should be able to push-pull the brake caliper and for it to slide with minimal resistance. This is crucial so the caliper fully disengages after the brake pedal is released.
STEP 7 – Re-fit the Wheel
Re-fit the wheel, hand-tighten the lug nuts, and then remove the axle stands. Gently lower the vehicle till the wheel is just touching the ground. Torque the lug nuts to the manufacturer's specified torque in a criss-cross pattern to ensure an even distribution of pressure. Once all lug nuts are fully torqued, lower the vehicle completely onto the ground.
STEP 8 – Repeat on the Other Side
Go back to Step 2 and repeat the entire process of replacing the brake pads on the other side of the vehicle.
STEP 9 – Bed-in Your New Brakes
The final, and often overlooked last step in completing the brake installation is to bed in your new brake pads as per the brake manufacturer's guidance. Different pad materials often have different bedding-in processes and it’s important to follow this process to maximise the performance and wear life of the newly installed brake components. If you're using EBC pads we’ve created this guide on How to Bed in Your New Brake Pads.

Validate your login